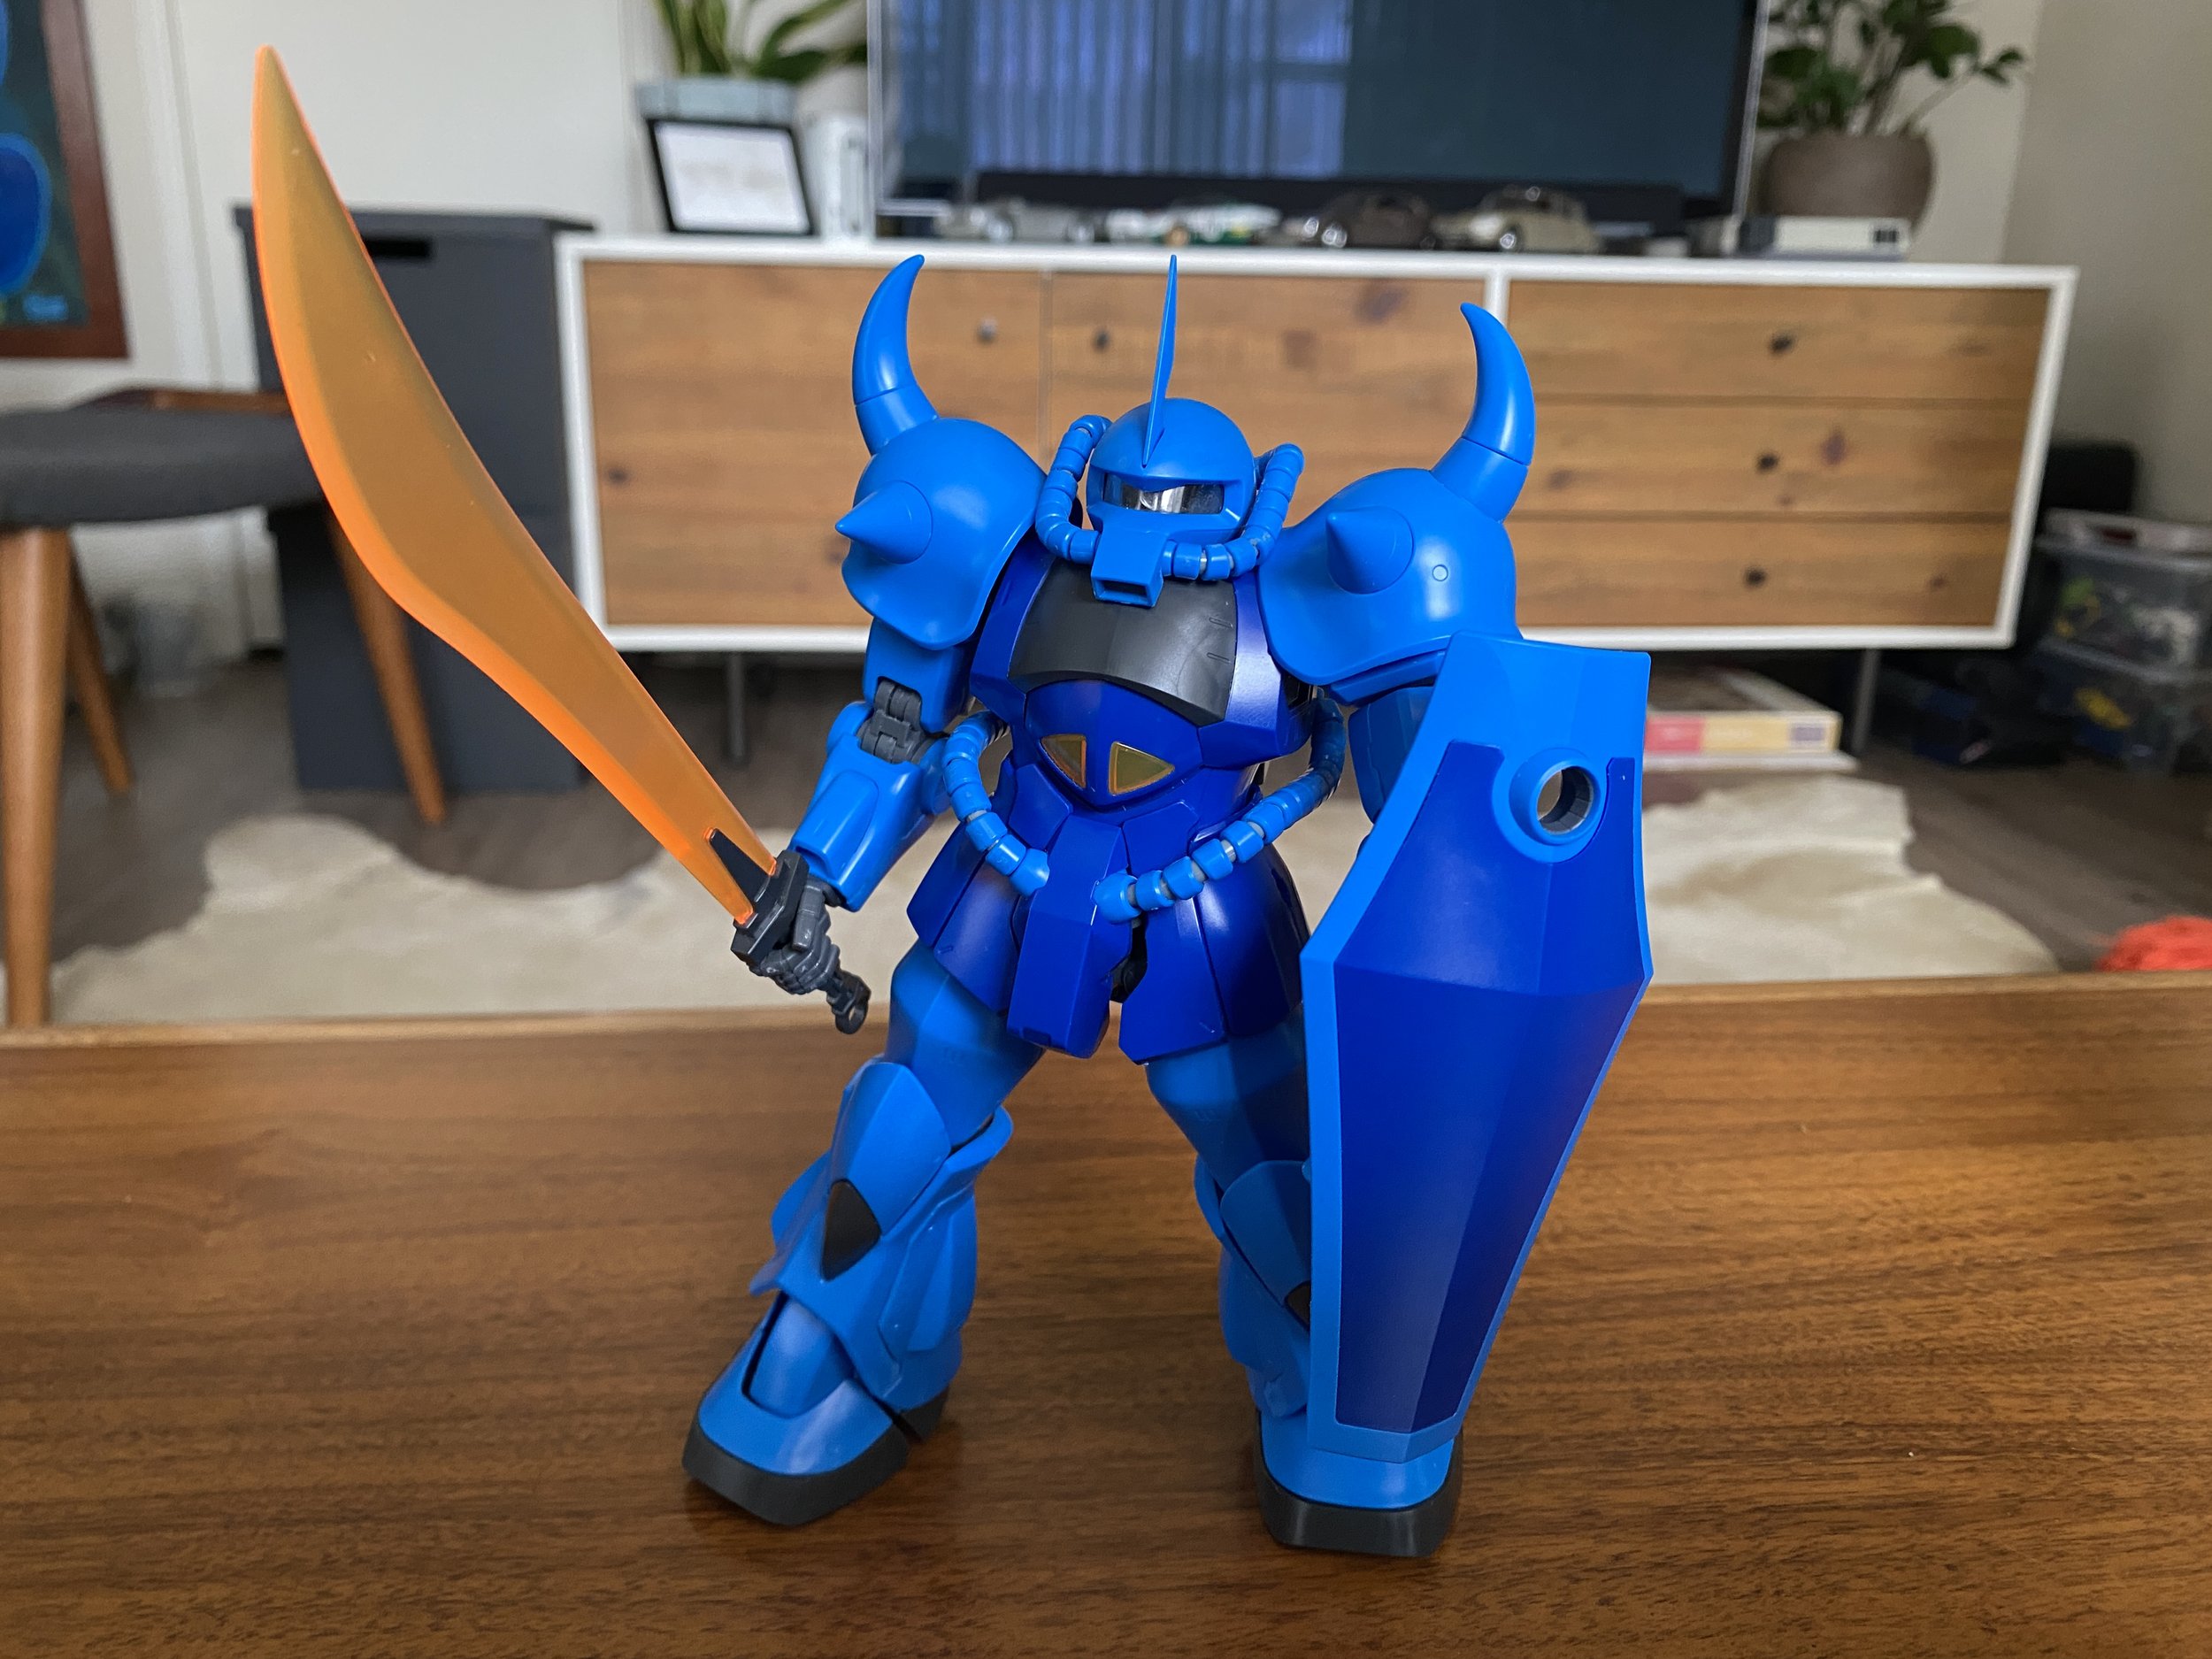
Gundam Gouf MG

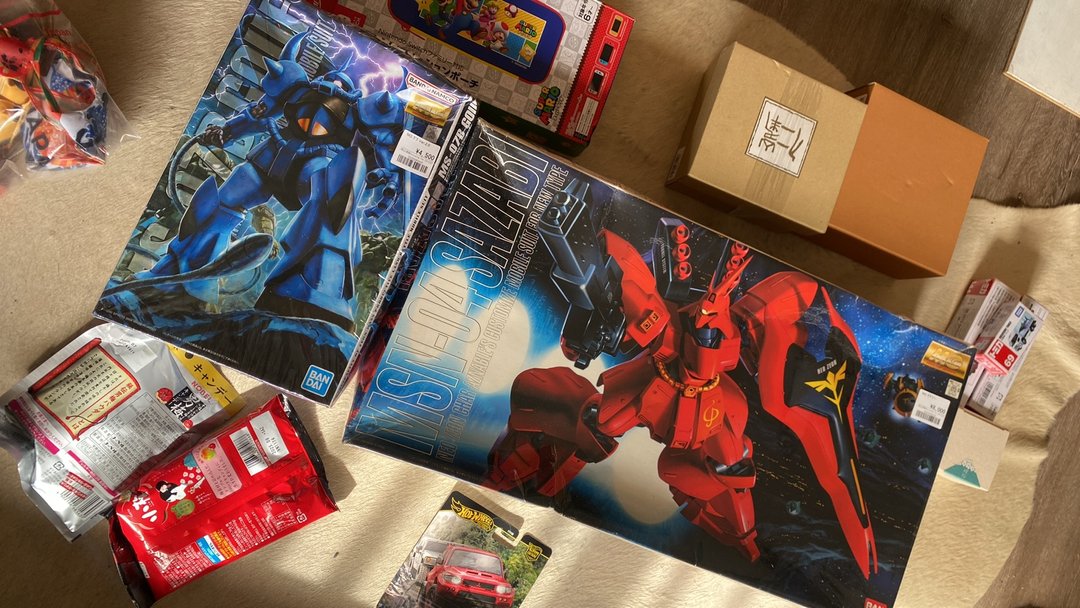
After finishing the Zaku, I was now ready to work on the model kits that I bought while I was in Japan. I decided to work on the Gouf before tackling the giant Sazabi kit. I’m a big fan of the Gundam series, and one of my favorite mobile suits was the Gouf. The Gouf is a newer, improved design over the general use Zaku mobile suit.
This Gouf was piloted by Captain Ramba Ral, who was a great adversary to Amuro Ray.


The assembly process went by very smoothly, and seemed a little easier to assemble than the Zaku. The pieces felt very robust, and everything fit very well.


This kit turned out great. The colors are very vibrant, and the mobile suit design looks very aggressive. I like that this kit comes with a lot of accessories and is very easy to pose. I already added decals and may add a little weathering in the near future. I would reccomend this kit to anyone who is a Gundam fan who has patience.


Gundam Zaku II MG

Around November 2024, I returned from my Japan trip with two new Gundam MG kits. Before I can get started on those kits, I had to finish my Zaku II. I already assembled the kit and added decals. What it needed was weathering. I saw many examples of weathered Gundams and wanted to make my Zaku II look well worn.


The model had to be disassembled for weathering. I used Gundam markers and a paintbrush to create the effect of paint wearing away to reveal metal. I sanded areas to create a rougher finish. I then painted worn areas with a dark grey color, and then silver to indicate metal.


I’m very satisfied with the results. I may work on another Zaku in the near future, and try to depict more severe battle damage. I still have to finish other kits I’m working on.


Self Portrait

I’ve been a little busy lately and now that things have calmed down a bit, I decided to update my blog with a few personal projects that I’ve finished within the past few months. One project that I’m really proud of is my self portrait.

I finished this self portrait in on March 30th, 2024. I waited 6 months for the painting to fully dry for varnish on September 29, 2024.


The gloss varnish made the colors and details more vibrant, but I feel that I lost some of the brush strokes.


This was how the painting looked when I finished it on March 30th. It was a little hard to photograph, because the paint was very shiny. I was very satisfied with resolving proportions, details and colors.


I started this painting around January 2023. I was originally thinking that I could finish it for my 40th birthday on February 26th. It turned out that I was a little rusty at painting, and this painting took a lot longer than expected.

What made this painting challenging, was getting the facial proportions and expression correct. There was a period of time where I thought a purplish background would have looked good. I ended up using a darker neutral that was less distracting from my tan skin tone. I really wanted to emphasize bold shadows and highlights from a strong light source.

This painting was a great experience. I might be tempted to work on another self portrait in the near future. Hopefully, it will be quicker with the knowledge I gained.


A mural for Rajiv and Harsha Satyal


Around March 2022, my friends Rajiv and Harsha asked me if I could paint a mural to add some color to their backyard. I was a little hesitant at first, but then decided that it would be a great opportunity to re-live some of my mural days back in Austin. They wanted something that is vibrant, and reminds them of Los Angeles. Before painting can start, I created proofs with Sketchbook Pro and Photoshop.


My initial idea was to create a Los Angeles skyline. I was imagining the Hollywood Hills against an evening sunset. The sunset would feature a gradient with a warm yellow, into orange and then a deep purple. It was interesting, but they wanted to see ideas that incorporated more green and orange.


The next ideas incorporated elements of Los Angeles. I was thinking about incorporating the Santa Monica Pier ferris wheel, the Chinese Theater, Laugh Factory and the Comedy Store. The ideas represented Los Angeles, but looked too busy.


The winning proof was an evolution of the sunset idea. This proof featured more orange and emphasized the sky. The Los Angeles elements were toned down, and became details within the painting. The Hollywood sign became more prominent.


With the proof approved, I bought the appropriate supplies and started working directly on the wall.


Within the first day of painting, I was able to put down all the elements. There was still a lot of work to be done brightening the sky, honing down the details and tightening the lines.


Putting down a few tape lines was very effective in defining the sunset, ocean and skyline.


After a few more hours painting by brush, I considered this mural done!


I was very satisfied with how this turned out. Painting against a porous surface was a little difficult, considering that the lines wanted to become blurry.
Taking the time to finish the details with brush was very necessary to create a clean looking painting.


Here’s me with some very satisfied customers!


Some 3D prints


Since the first Prusa nameplate print, I’ve been dabbling in a lot experiments. There has been a lot of headache, tweaking and failures.
Through these experiences, I’m now more comfortable using my Prusa MK3S+.

I bought and tested a variety of different filaments. I experimented with both PLA and PETG.


The Lucky 13 model was a bit tricky. It required more precision to print the smaller parts and make them fit to form a posable action figure.
I learned that PETG is a better material, due to its flexibility vs the brittleness of PLA.


After figuring out the smaller Lucky13 figure, I decided to print a larger version. The larger version was very successful, with the parts fitting together correctly and feeling robust. I think it may have taken around 4 days to print out all the parts.