Gundam Zaku II MG

Around November 2024, I returned from my Japan trip with two new Gundam MG kits. Before I can get started on those kits, I had to finish my Zaku II. I already assembled the kit and added decals. What it needed was weathering. I saw many examples of weathered Gundams and wanted to make my Zaku II look well worn.


The model had to be disassembled for weathering. I used Gundam markers and a paintbrush to create the effect of paint wearing away to reveal metal. I sanded areas to create a rougher finish. I then painted worn areas with a dark grey color, and then silver to indicate metal.


I’m very satisfied with the results. I may work on another Zaku in the near future, and try to depict more severe battle damage. I still have to finish other kits I’m working on.

 

Some 3D prints


Since the first Prusa nameplate print, I’ve been dabbling in a lot experiments. There has been a lot of headache, tweaking and failures.
Through these experiences, I’m now more comfortable using my Prusa MK3S+.

I bought and tested a variety of different filaments. I experimented with both PLA and PETG.


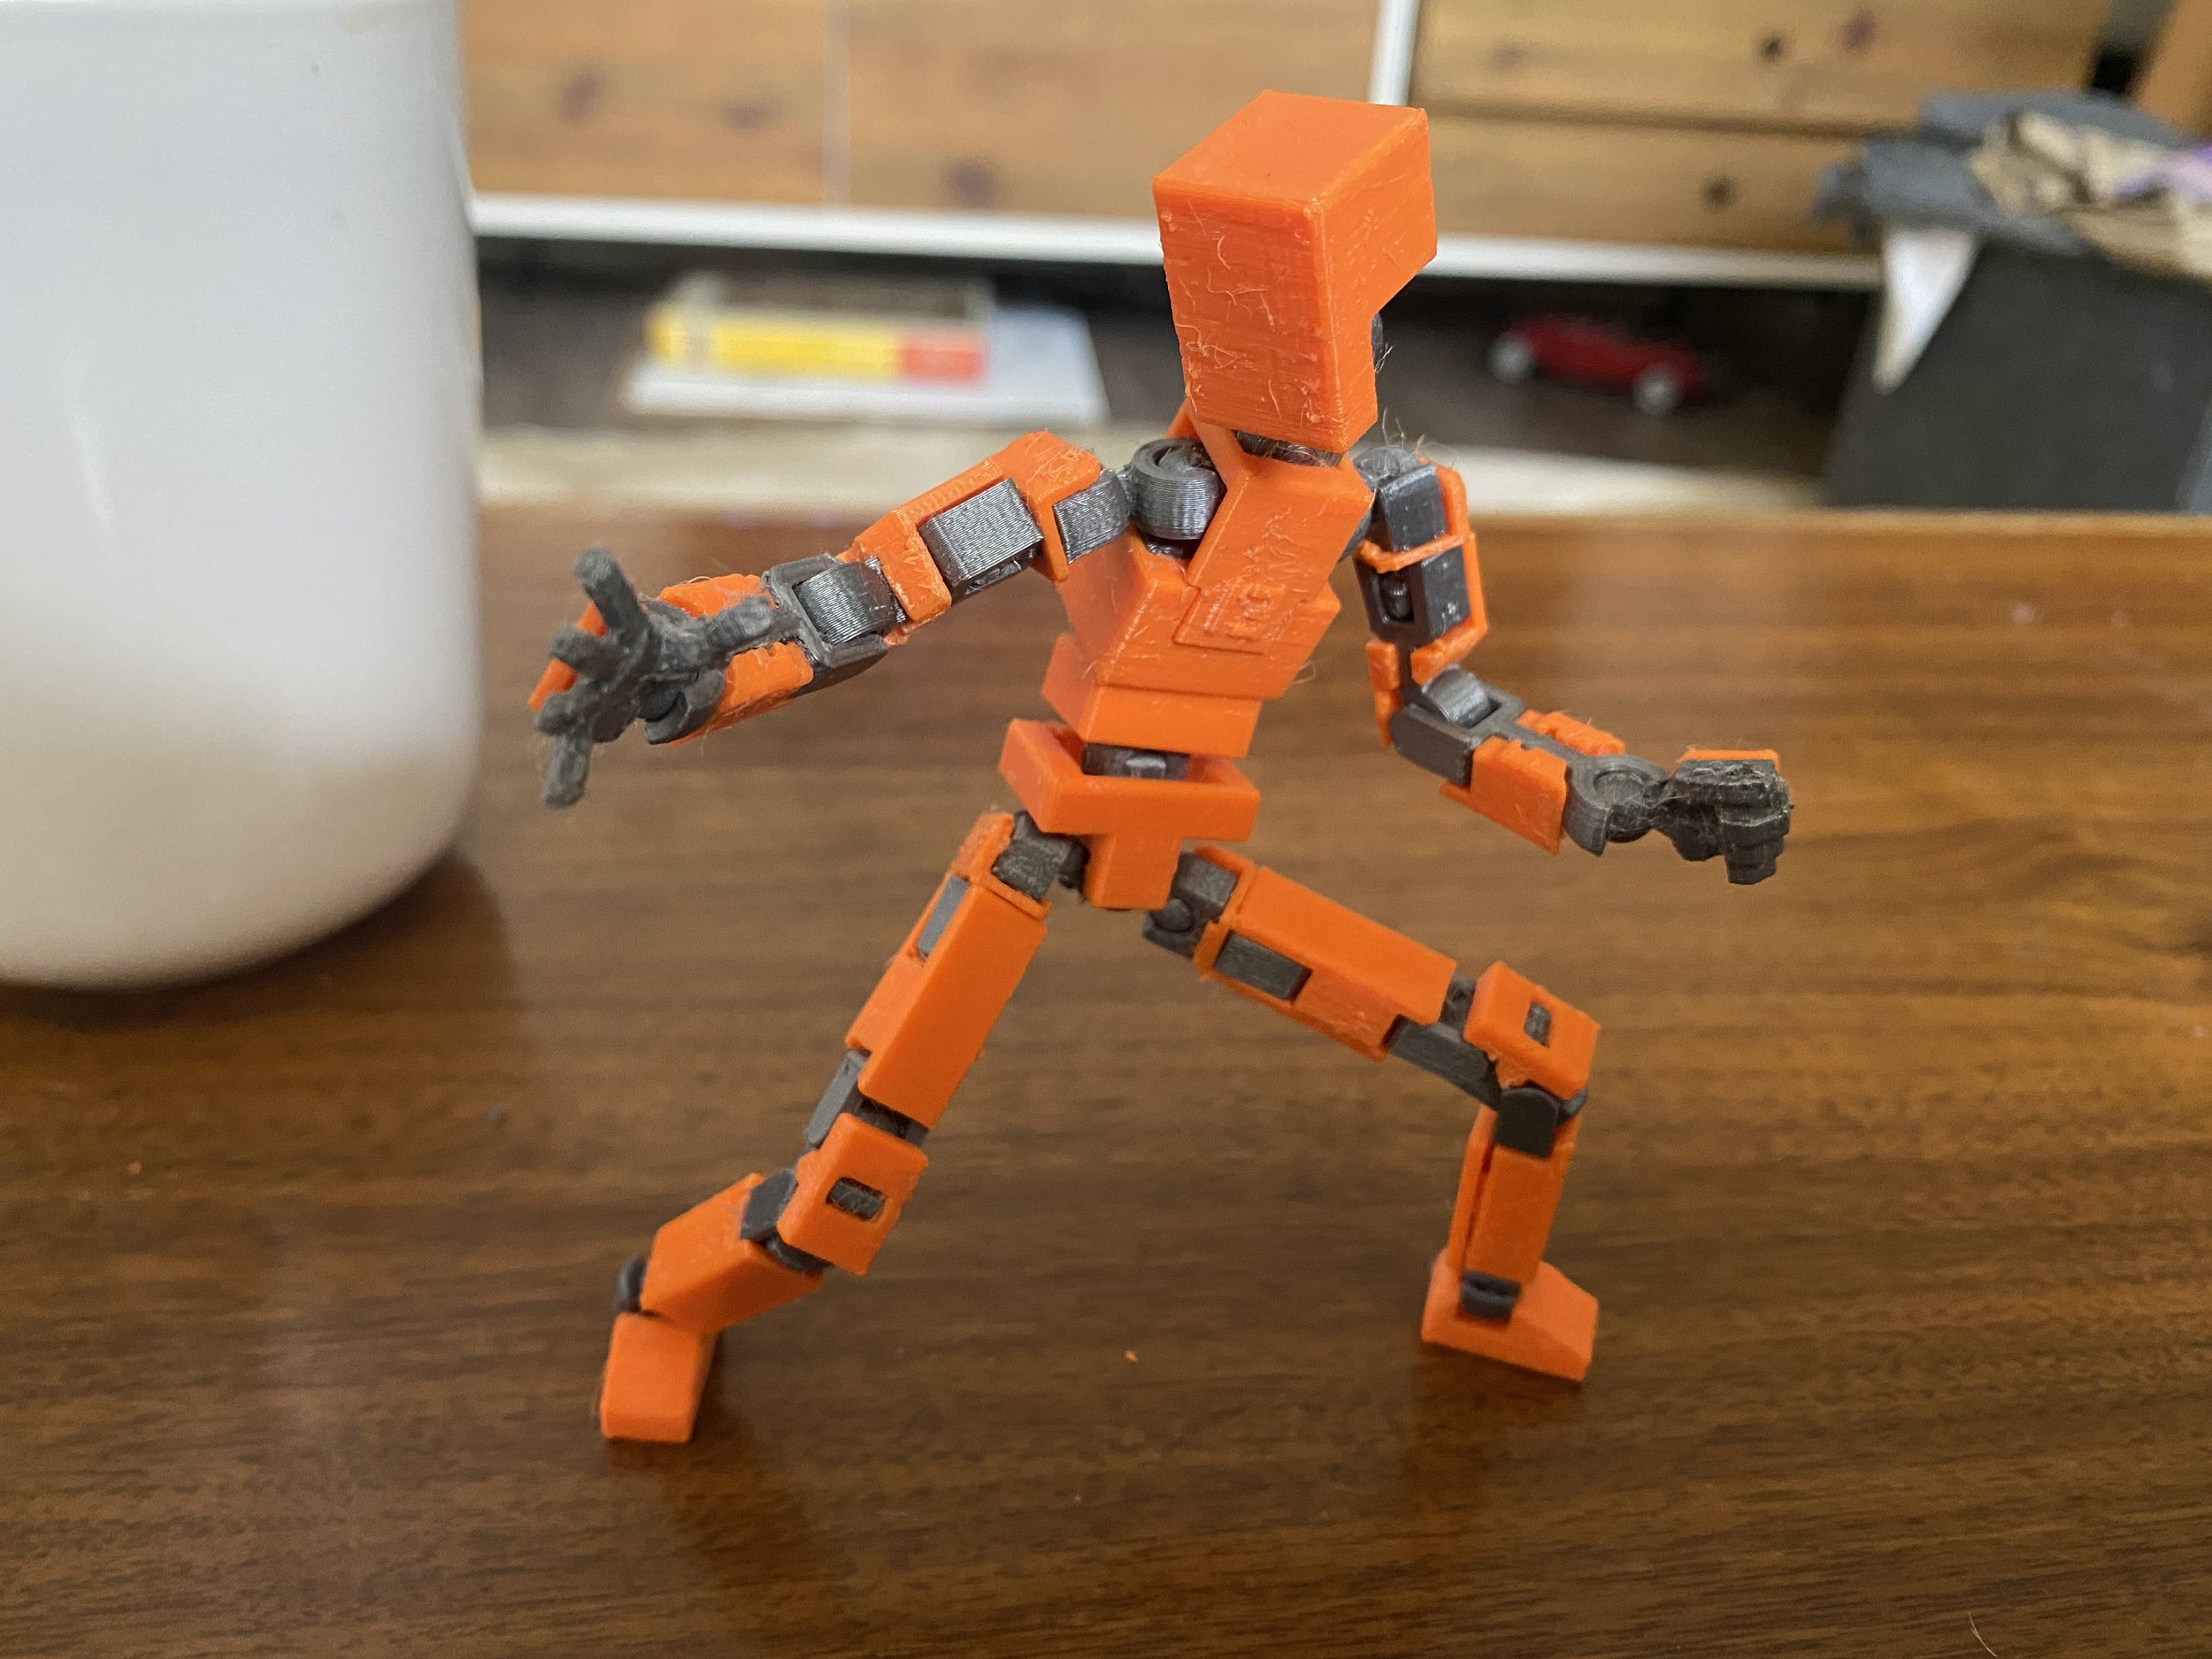
The Lucky 13 model was a bit tricky. It required more precision to print the smaller parts and make them fit to form a posable action figure.
I learned that PETG is a better material, due to its flexibility vs the brittleness of PLA.


After figuring out the smaller Lucky13 figure, I decided to print a larger version. The larger version was very successful, with the parts fitting together correctly and feeling robust. I think it may have taken around 4 days to print out all the parts.


A mosaic in Irvine


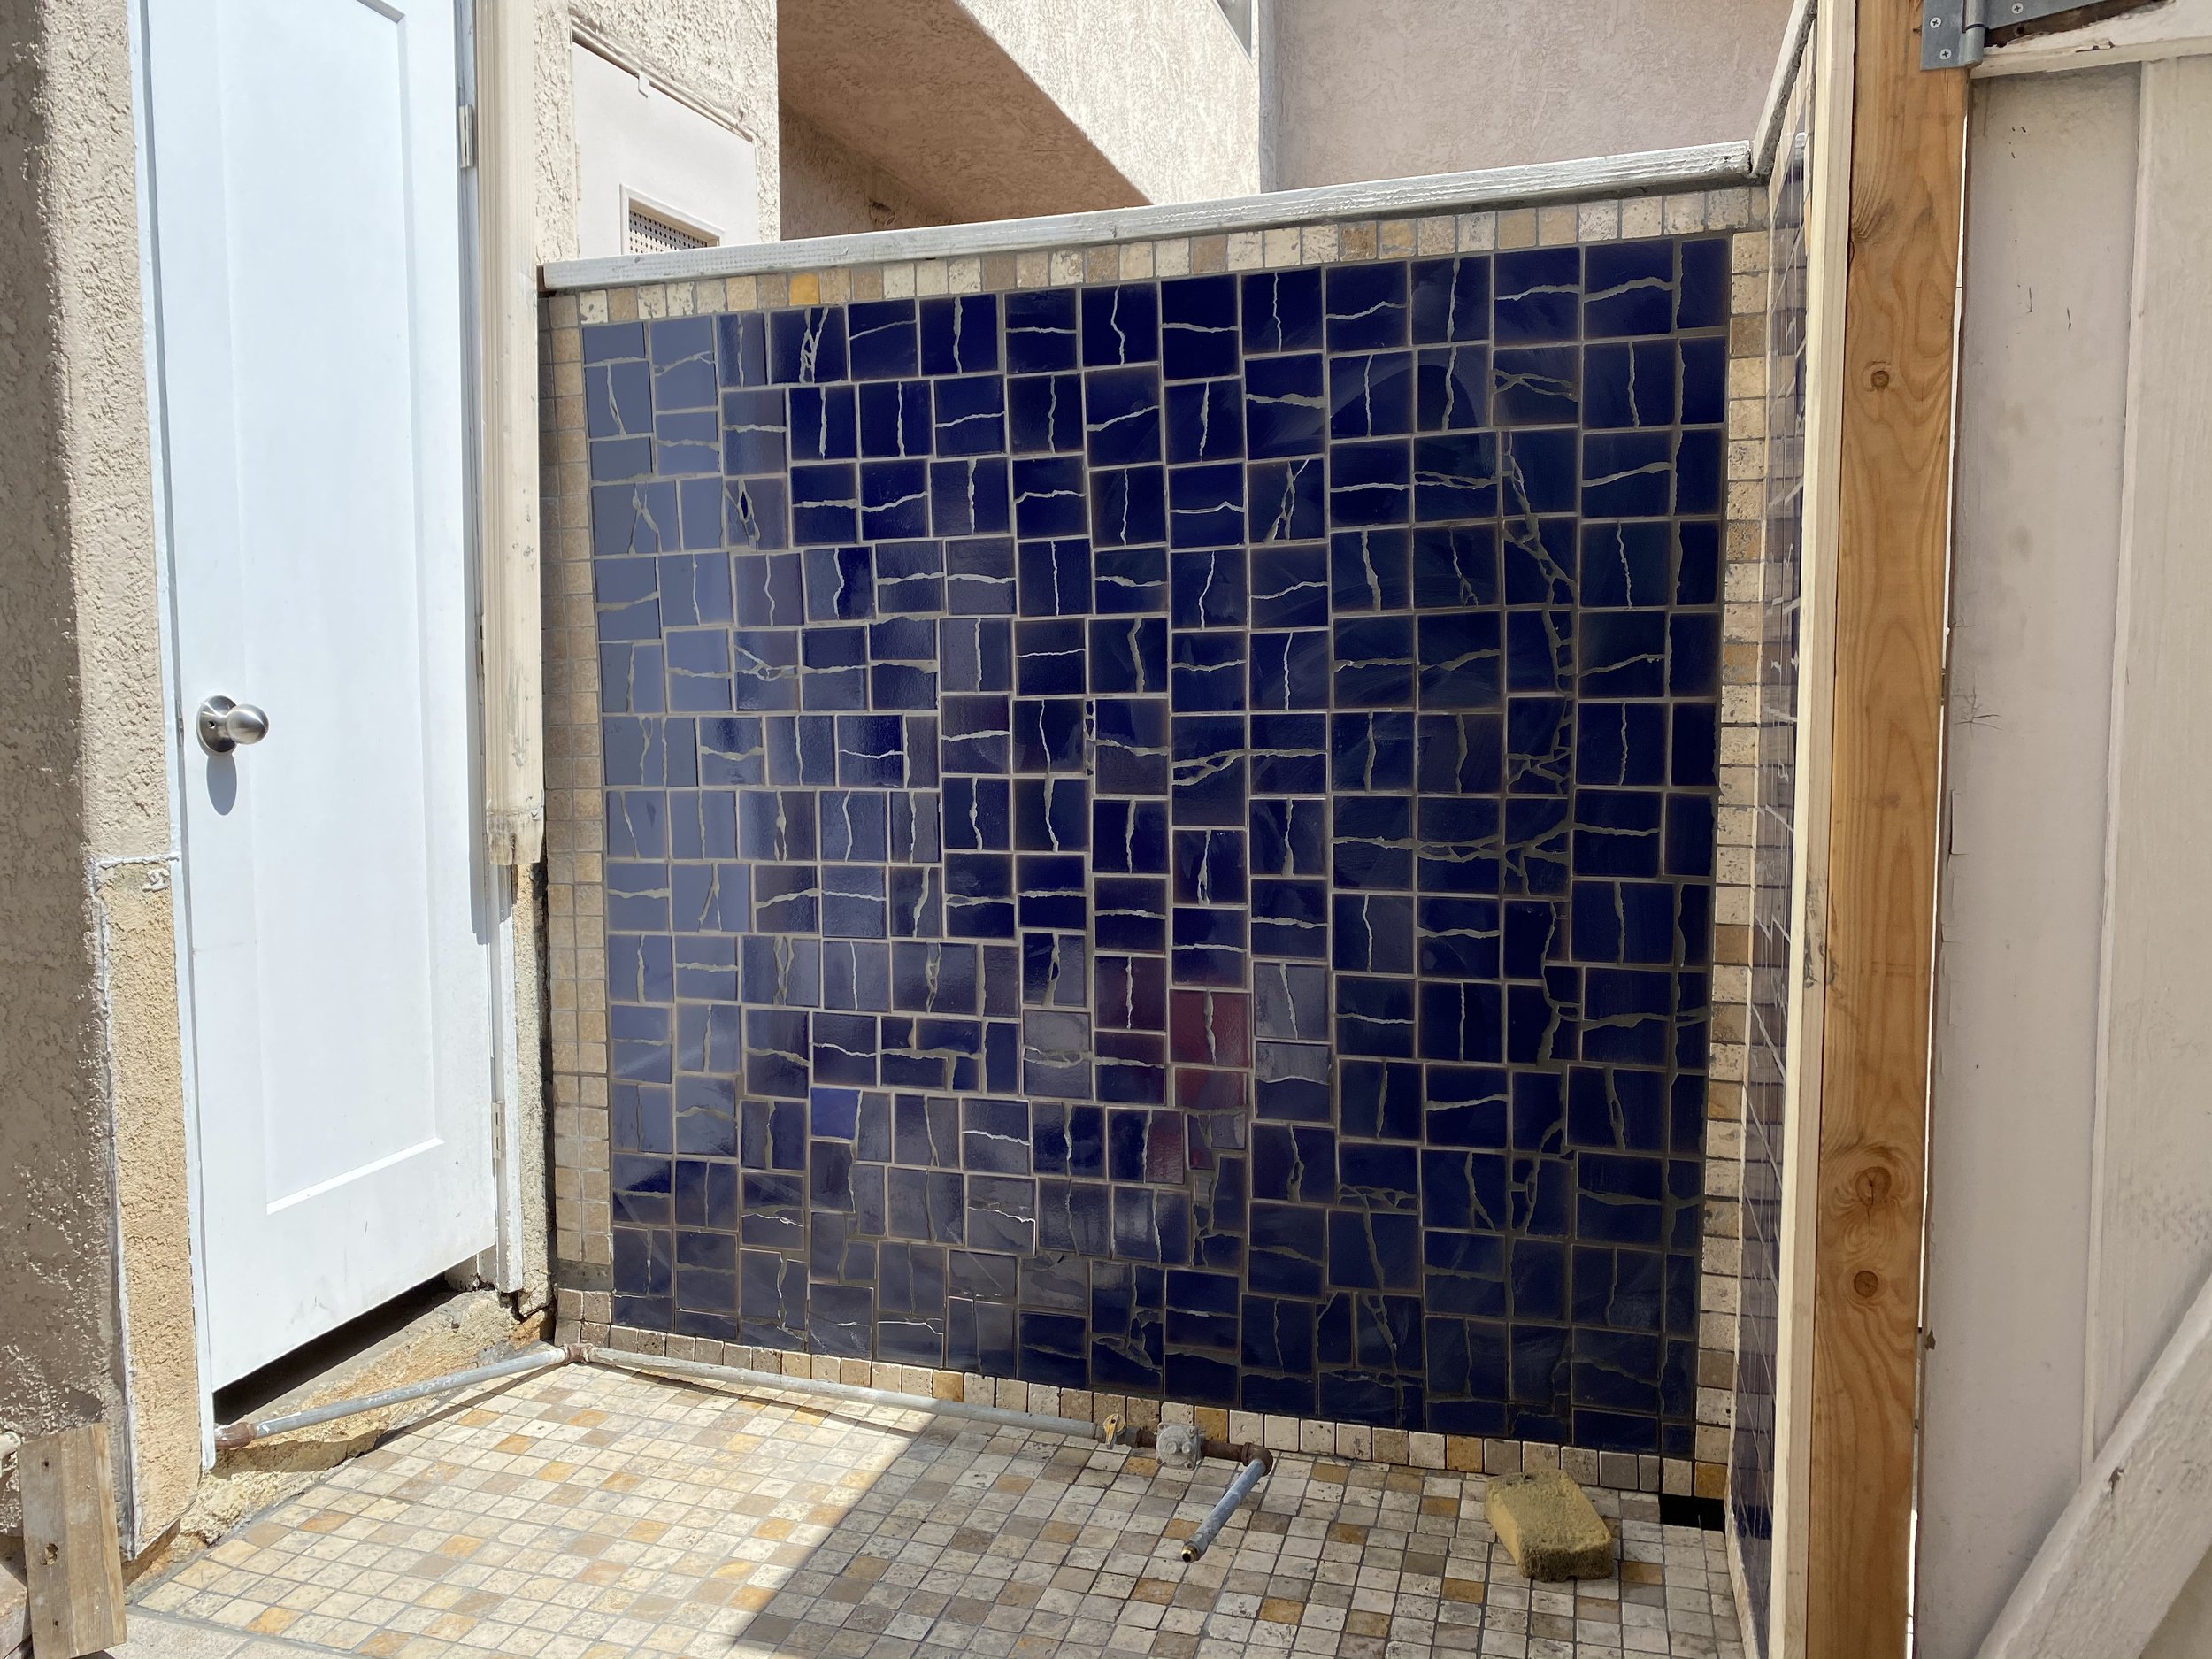
My parents had a rental property in Irvine, and I moved there with my cousin temporarily until I found a full time position. The condo had a nice backyard, but the grill area was unfinished. I thought it would be a nice opportunity to liven up this unfinished area with a mosaic.


I did some quick mockups in photoshop. One idea was to convey sky and grass, the other idea was a more basic blue.


I started the process by replacing the rotten plywood with fresh sheets. Then I used cement board as a mounting surface for the tiles. I did some research and found a great place in San Diego that sold broken tile in some very nice colors. Navy blue looked very sharp.


The installation process was fun, but a little challenging. It involved quickset cement, and being able fit tiles in appropriate places.
I did have to modify some tiles to make it the right size.


After the tiles were put up, grout was added. Once the grout dried, it was scrubbed away to reveal the mosaic design.


A few weeks after the mosaic was installed, the Irvine HOA notified me about some upcoming updates to the property. They told me that this mosaic was interfering with their updates. The HOA is difficult to deal with, so I complied and had to take the mosaic down. I was a little upset at first, but I did try something new,
and learned a new skill that I’ll apply in the future.


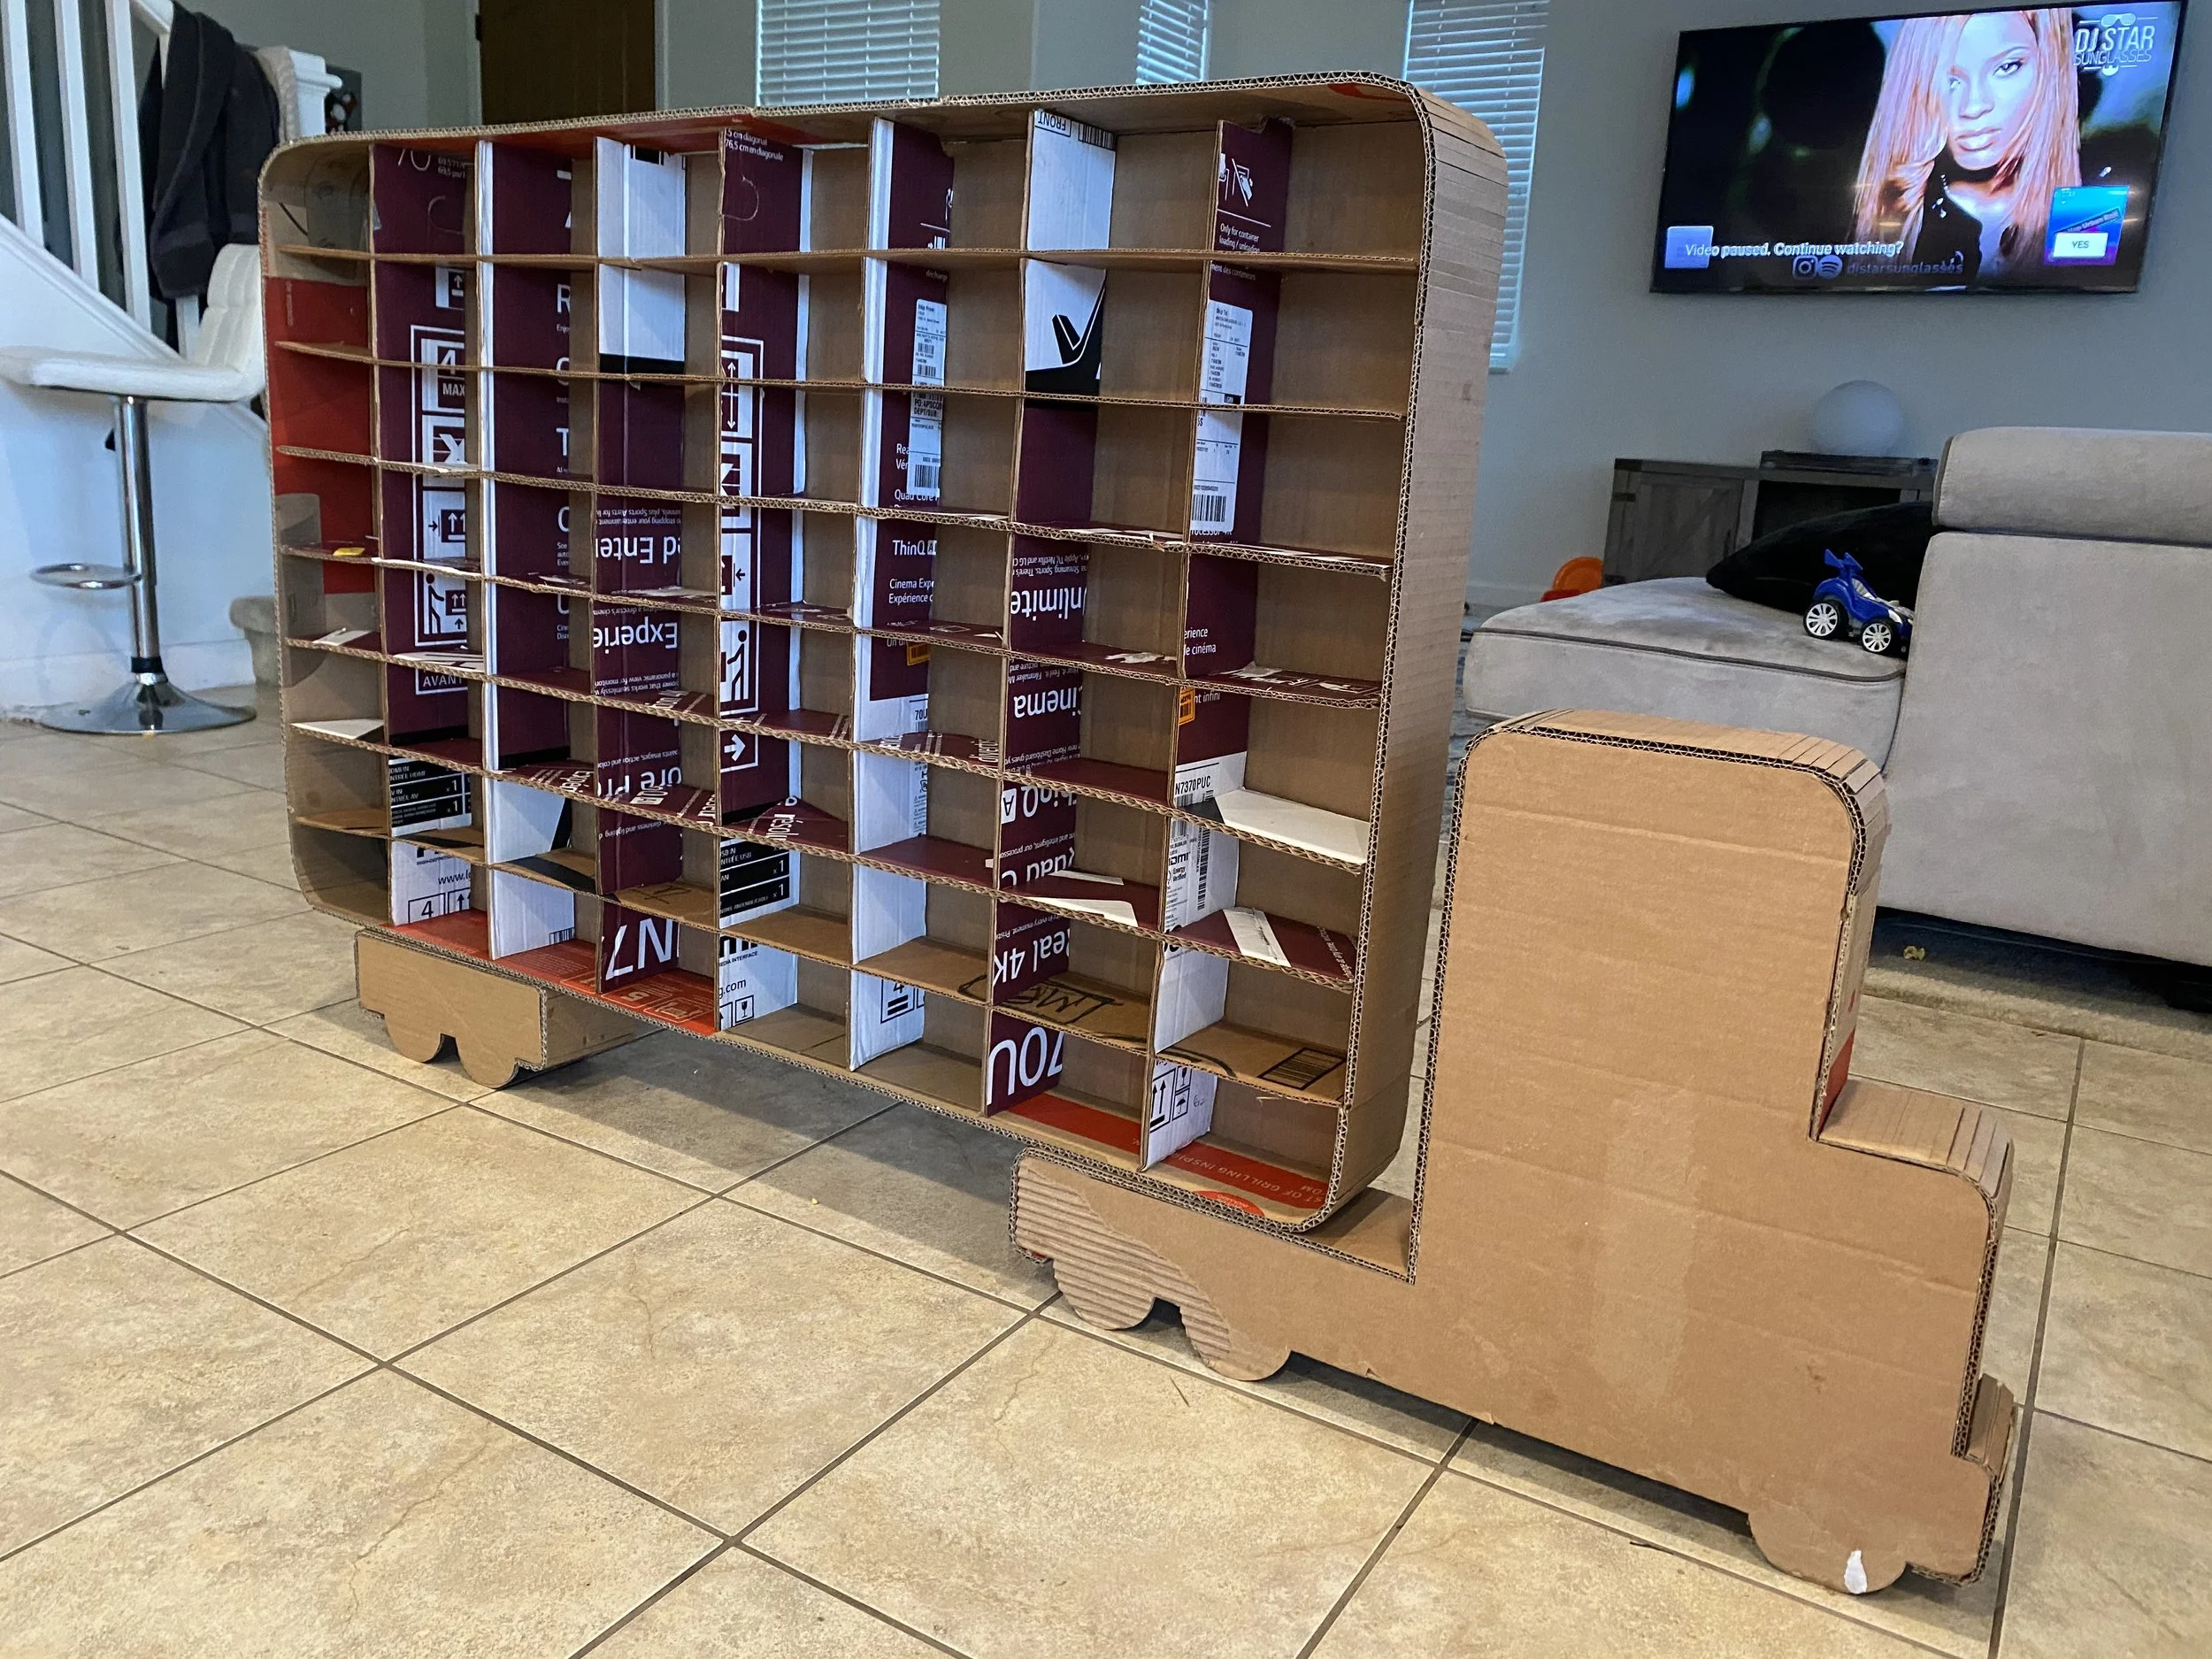
A cardboard truck for the Rai family


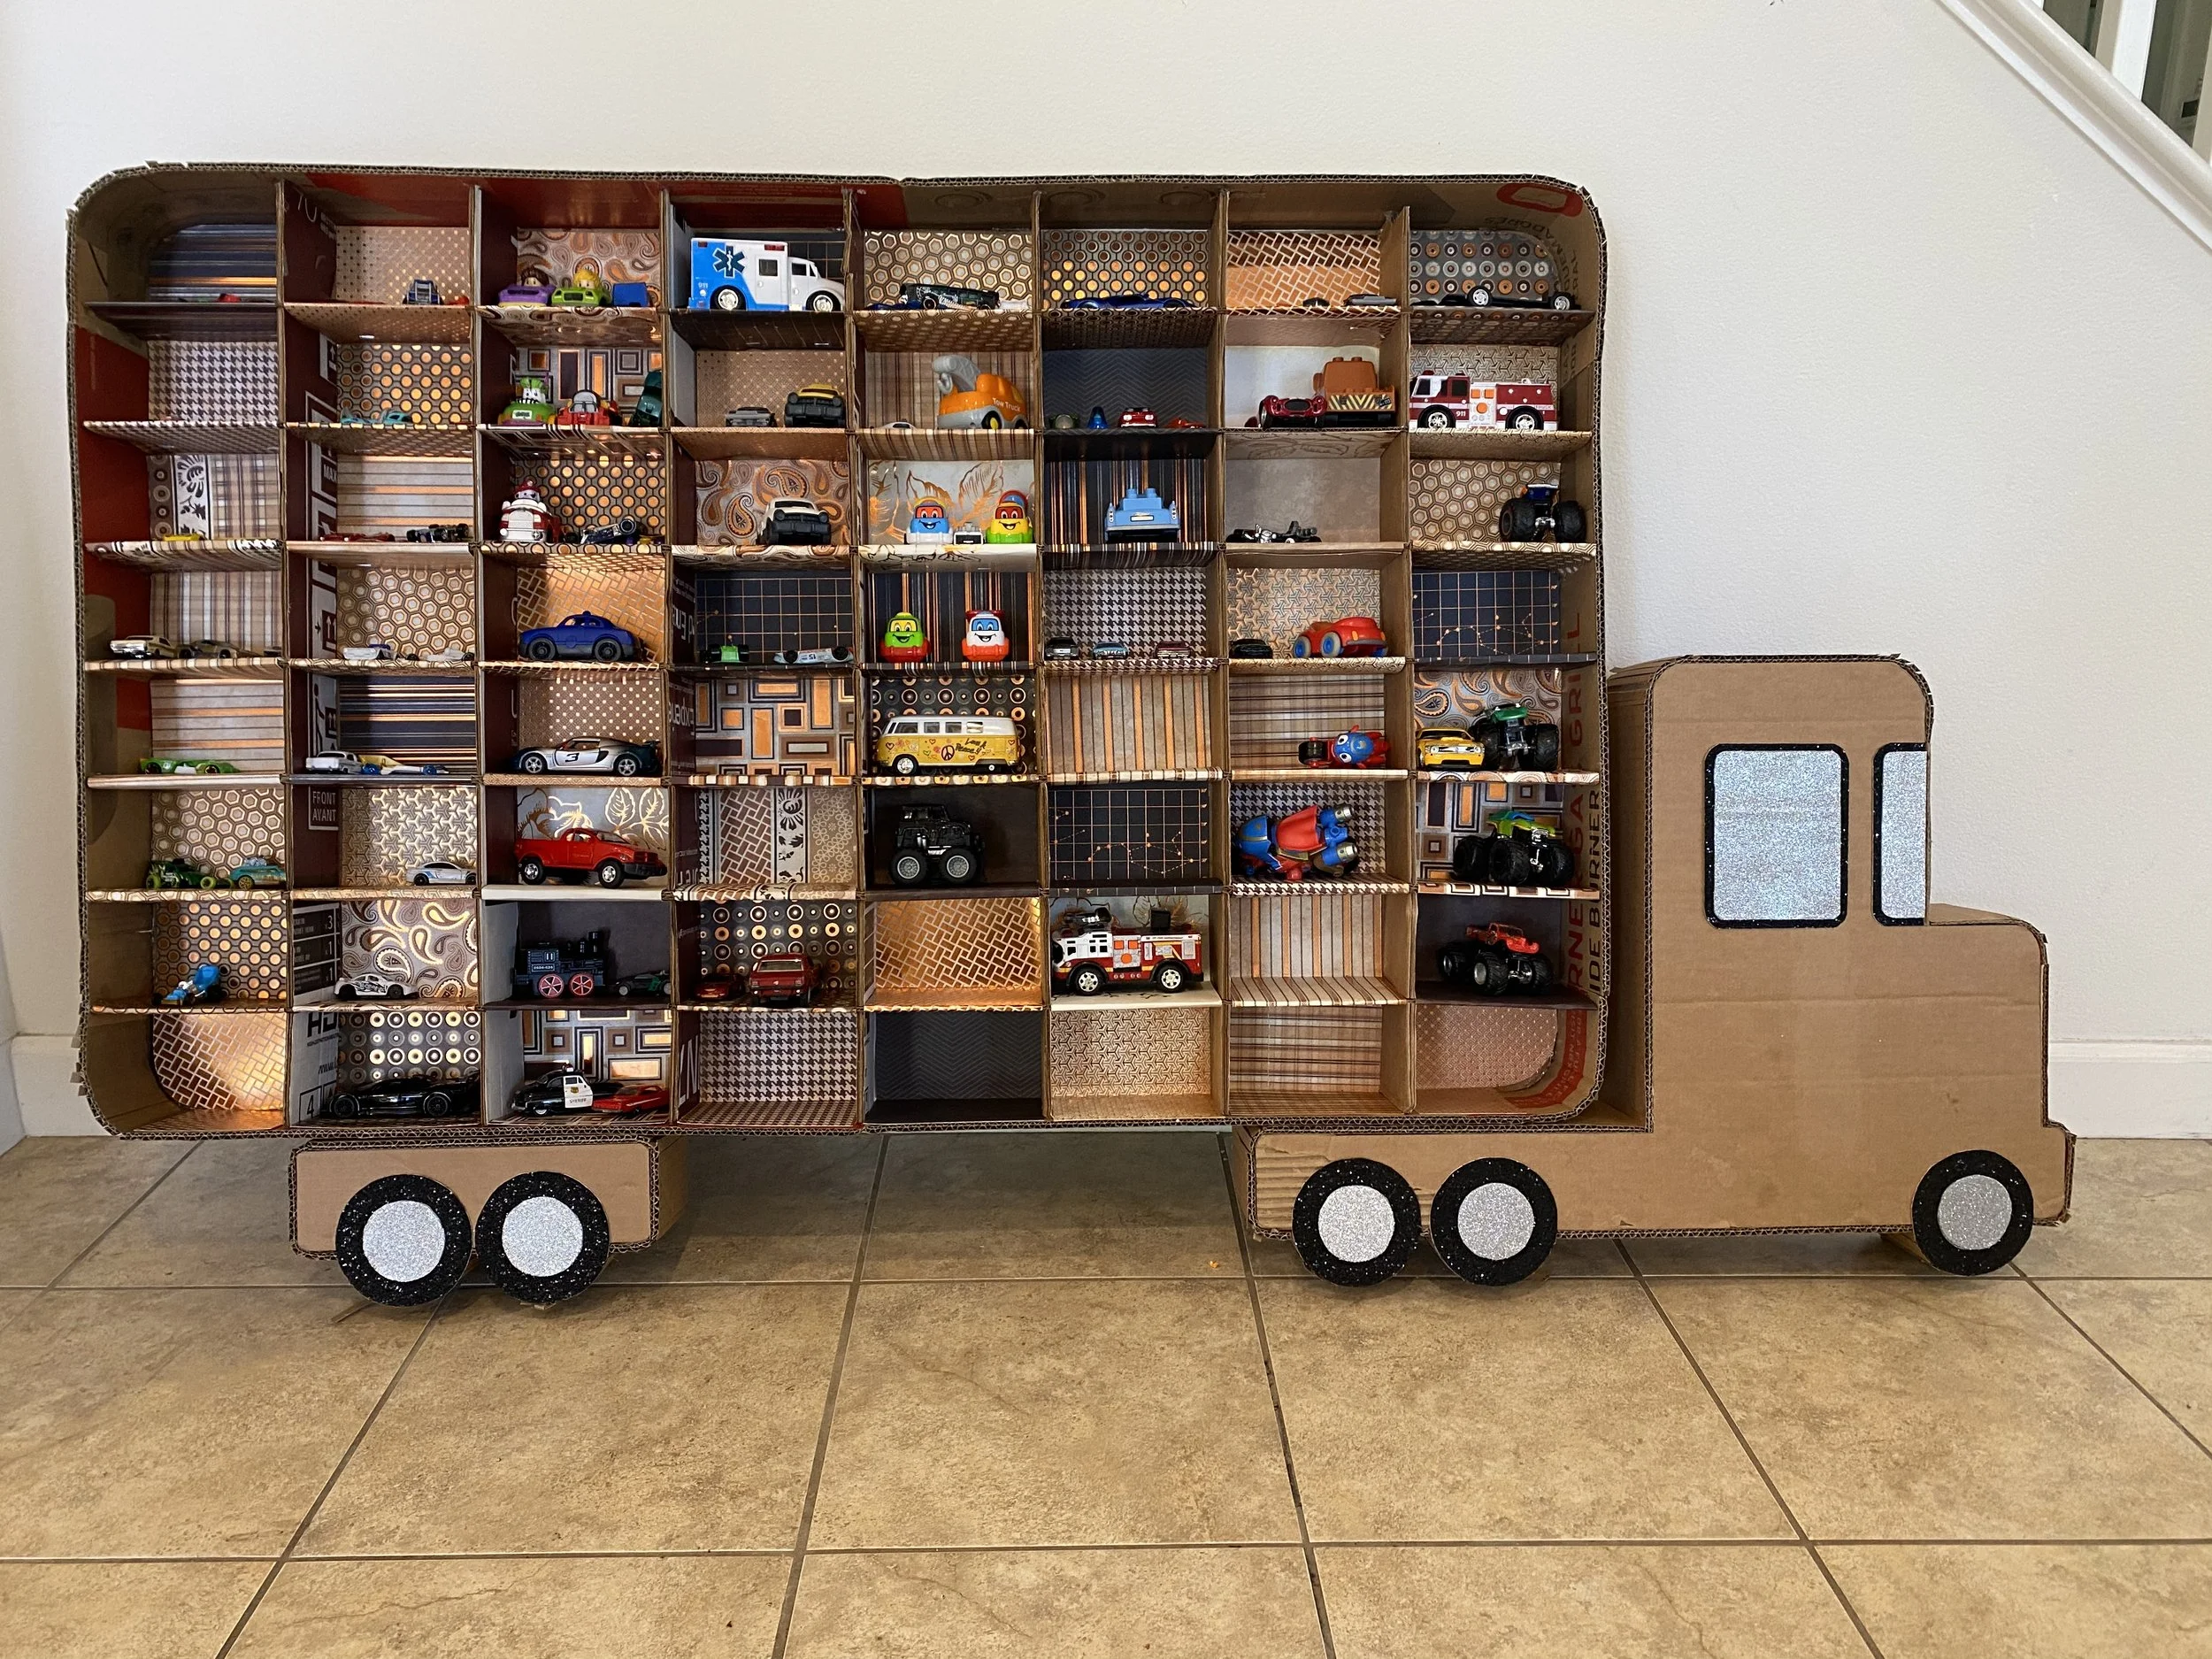
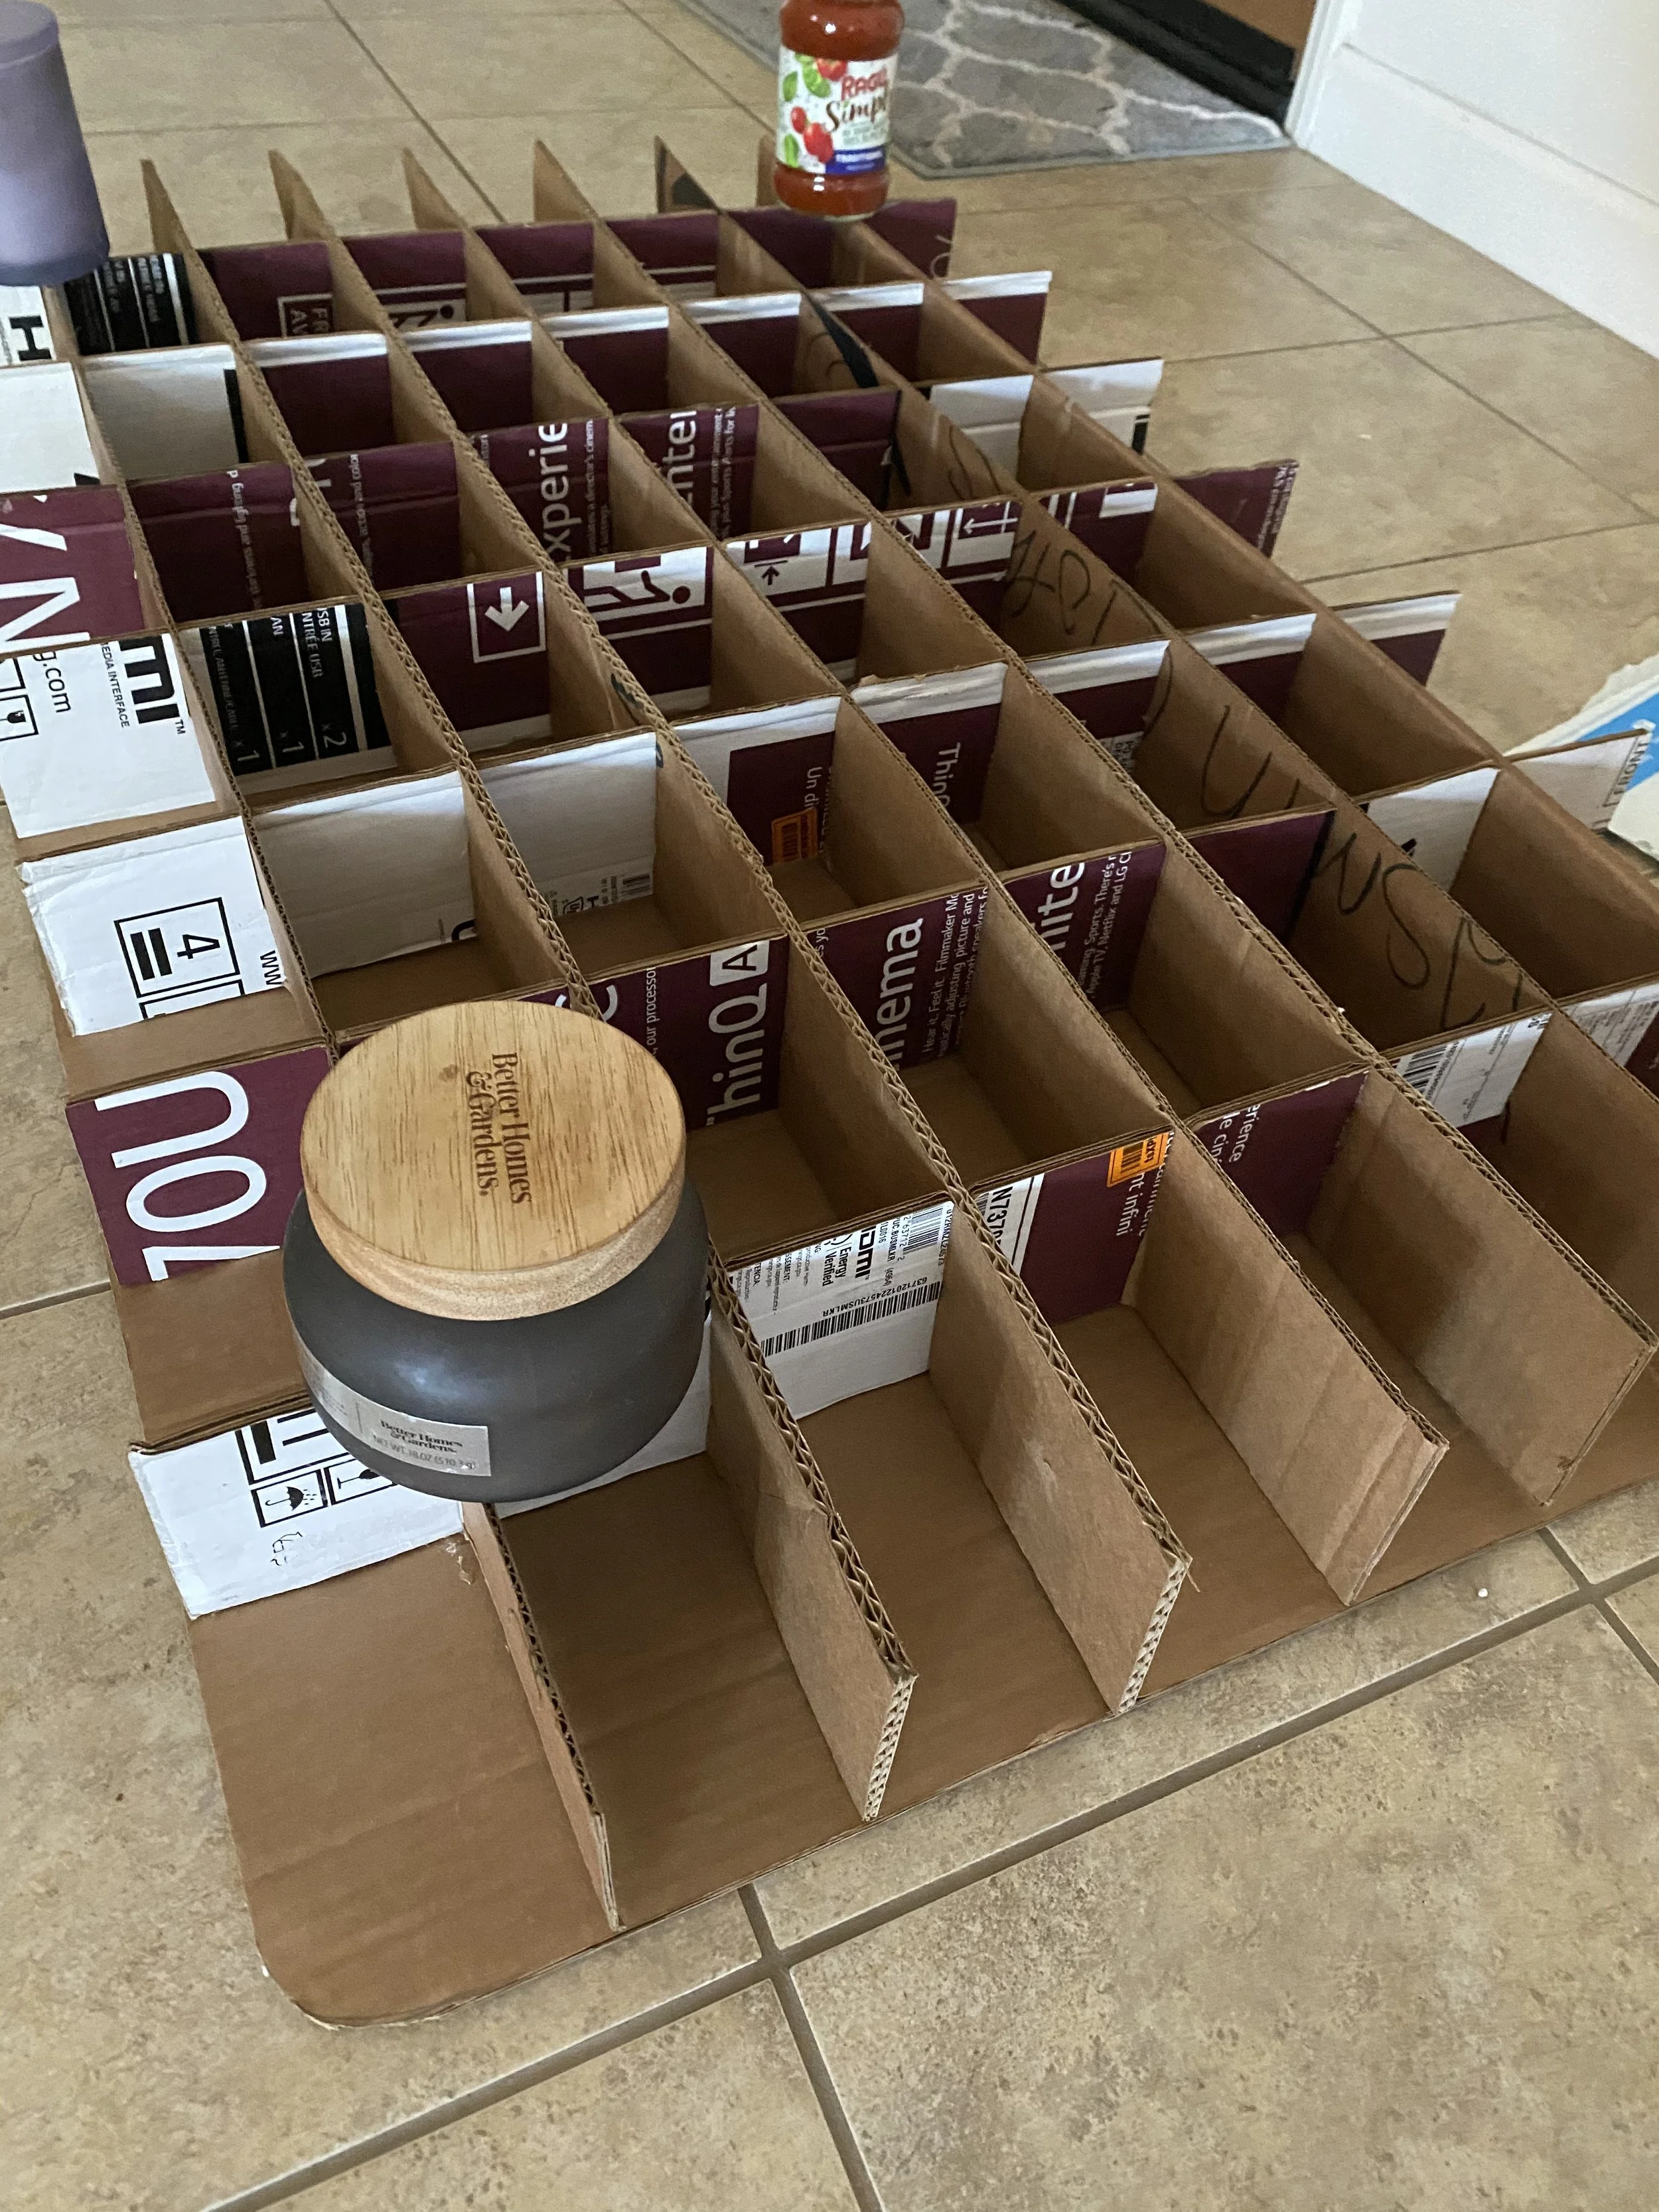
Around May 2021, my friend Jasmin reached out to me about creating a semi truck that holds toy cars for her kids. I agreed to help her out and worked with the various materials that she had around the house. She had a lot of extra cardboard and some interesting scrap paper. With some patience and hot glue, I was able to make a nice semi truck. This truck didn’t survive toddlers, but it was something fun to build and a nice gesture for a new friend and her family.